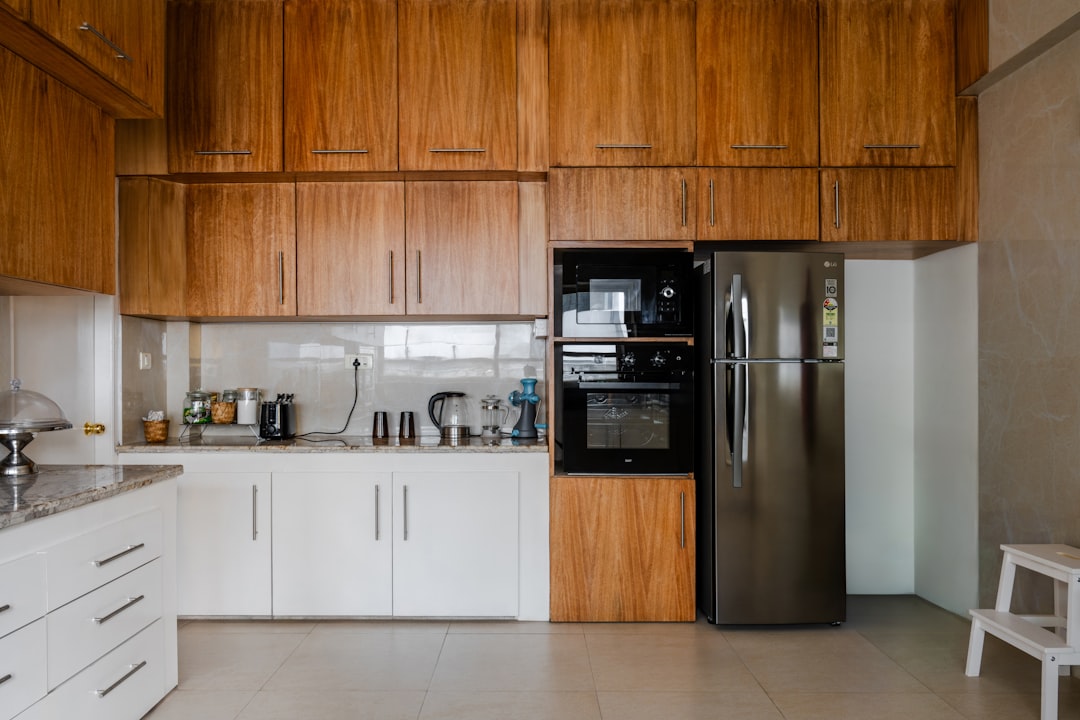
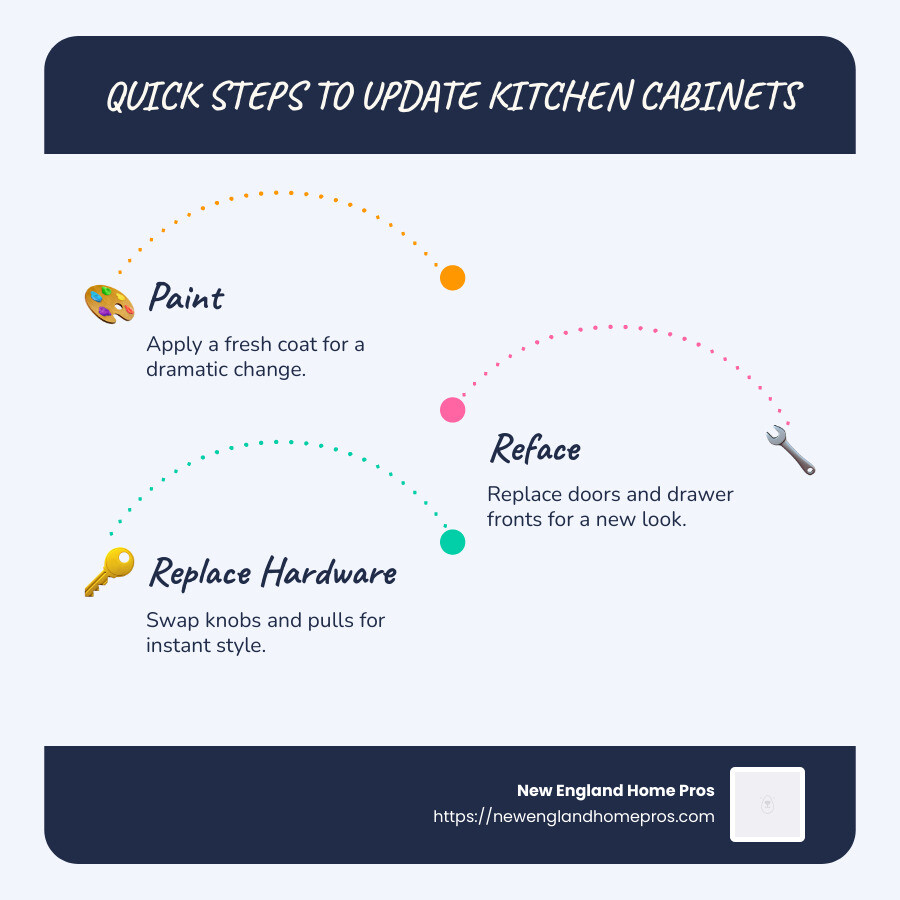
Updating kitchen cabinets is one of the quickest and most cost-effective ways to breathe new life into your kitchen. Whether you’re looking for a simple refresh or a more dramatic change, here’s a quick snapshot of how to do it:
- Paint: A fresh coat can dramatically change the look.
- Reface: Replace only cabinet doors and drawer fronts.
- Replace Hardware: Swap knobs and pulls for instant change.
- Add Moulding: Improve style with architectural details.
- Install Lighting: Brighten up with under-cabinet lighting.
Updating your kitchen cabinets means revitalizing the heart of your home without breaking the bank. A well-planned update can improve the aesthetic appeal, improve functionality, and even increase your home’s value. Whether you opt for DIY methods or professional assistance, the benefits are undeniable – creating a kitchen that fits your style and needs.
My name is Jesse Andrews, owner of New England Home Pros. With over three decades of experience in remodeling services, I’ve helped countless homeowners achieve their dream kitchens through innovative and affordable strategies for updating kitchen cabinets. Let’s dive deeper into how you can transform your space.
Updating kitchen cabinets terms to learn:
– kitchen cabinets and countertops prices
– kitchen cabinet contractor
– updating kitchen on a budget
Reface the Cabinets
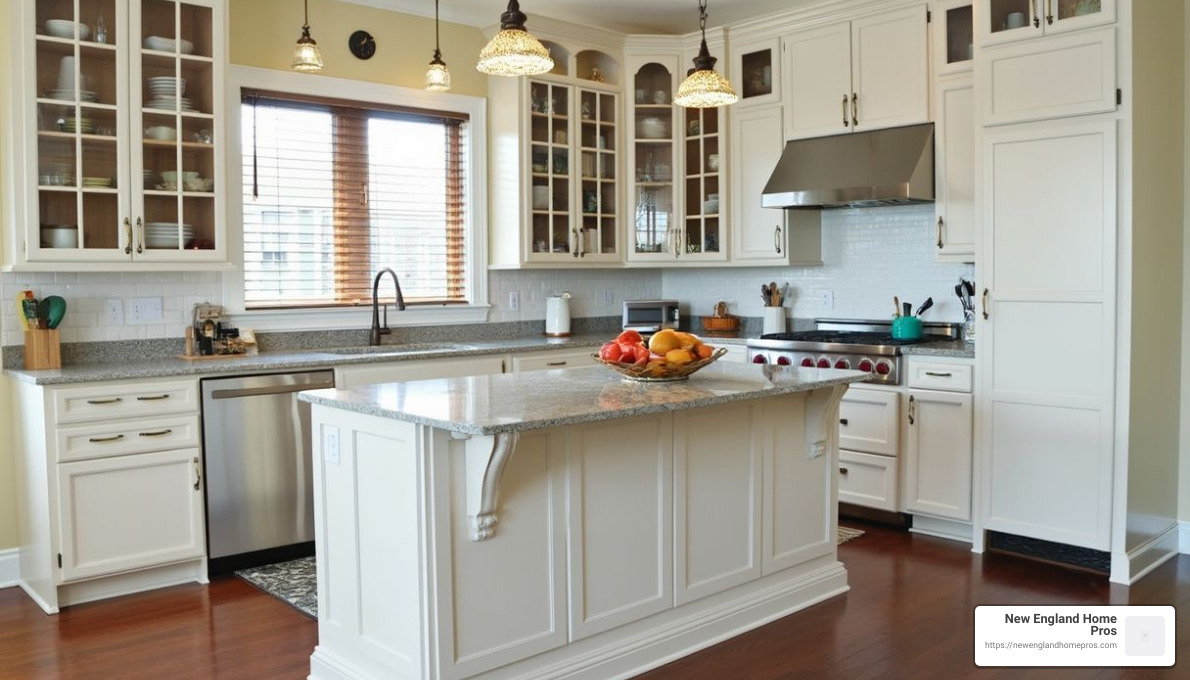
Refacing your kitchen cabinets is a brilliant way to give your kitchen an entirely new look without the expense of a full remodel. Cabinet refacing involves replacing the outer surfaces of your cabinets with new veneer, creating a fresh appearance that goes beyond a simple paint job.
Why Choose Cabinet Refacing?
Refacing is a step above painting because it involves applying a new surface rather than just covering the old one. This process often includes updating the cabinet doors and drawer fronts, as well as replacing hinges and hardware. The result is a comprehensive makeover that can make your kitchen feel brand new.
Professional Service
While some homeowners might consider tackling this project themselves, cabinet refacing is typically best left to professionals. The process requires precision and expertise to ensure a flawless finish. Professionals can also help you choose the right materials and colors to match your kitchen’s style.
New England Home Pros Services
For those interested in professional help, consider services like New England Home Pros, which offer cabinet refacing. They provide a wide range of options for veneers and finishes, ensuring you find the perfect fit for your kitchen. With expert installation, you can trust that your kitchen will look stunning and be completed efficiently.
Refacing your cabinets is an excellent choice for those who want a significant change without the hassle and cost of a full renovation. It’s an investment in your home’s beauty and functionality, making your kitchen a more enjoyable space to cook, dine, and gather.
Next up, explore the transformative power of paint to further improve your kitchen cabinets.
Find the Power of Paint
Painting is one of the most cost-effective ways to transform your kitchen cabinets. Whether you’re looking to accept bold hues or experiment with trending colors, paint can refresh your space dramatically. Plus, it’s a perfect DIY project for those who love a hands-on approach.
Preparing for a Paint Job
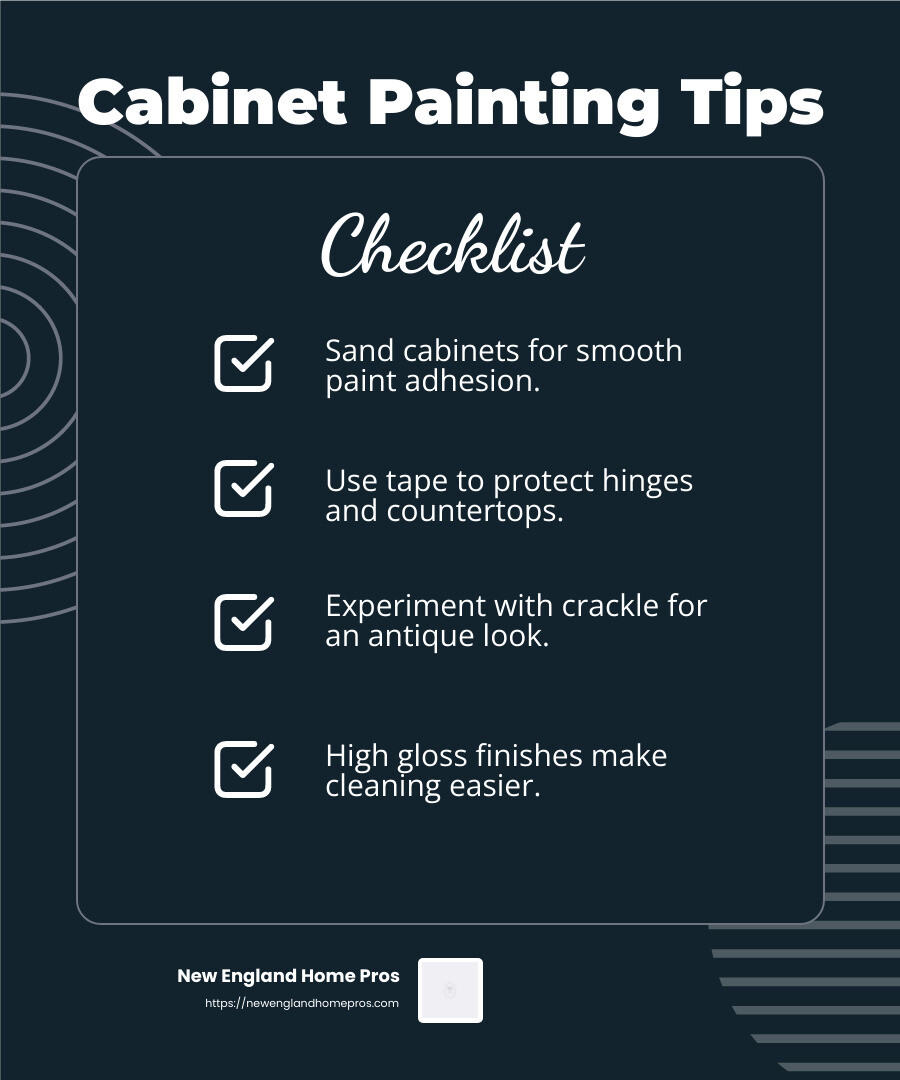
Before you dive into painting, preparation is key. Start by sanding your cabinets to smooth out any rough spots. This step ensures the paint adheres well and results in a polished finish. Next, use tape to cover areas you don’t want painted, like the hinges or countertops. Proper taping can save you from a lot of clean-up later.
Crackle Technique
If you’re aiming for a weathered look, the crackle technique is a fantastic choice. This involves applying a crackling glaze over a base coat. Once it’s dry, add a top coat. As the paint dries, it will begin to crack, giving your cabinets an antique, timeworn appearance. This style is perfect for those who love a vintage or shabby chic vibe.
Distressed Finish
For a more rustic look, consider a distressed finish. This involves painting your cabinets with multiple layers of different colors. Use sandpaper to gently rub away paint in high-use areas, revealing the colors underneath. Adding dark paint splatters can mimic natural wear and tear, creating a charming, lived-in feel.
Antiqued Finish
To achieve a provincial look, try the antiqued finish. Paint your cabinets with your chosen base color. Once dry, use a brush with a lighter color to add subtle highlights. Lightly graze the surface, especially around trim and corners, to create depth and a sense of history.
High Gloss Finish
If modern is more your style, a high gloss finish could be the way to go. This technique involves applying a clear acrylic varnish over your chosen paint color. The result is a sleek, shiny surface that’s easy to clean and resistant to fingerprints. The reflective quality of high gloss can also make your kitchen feel brighter and more spacious.
Painting your kitchen cabinets is a powerful tool in your design arsenal. Whether you’re drawn to the charm of distressed finishes or the sleekness of high gloss, paint offers endless possibilities to personalize your space. Up next, we’ll explore how swapping out hardware can further improve your kitchen’s style.
Swap Out the Hardware
Updating kitchen cabinets can be as simple as changing the hardware. Think of knobs and pulls as the jewelry of your cabinets. They can add personality and style with minimal effort.
Cabinet Knobs and Drawer Pulls
When it comes to hardware, you have a lot of choices. Cabinet knobs and drawer pulls come in various styles and finishes. Whether you prefer sleek modern handles or classic vintage knobs, there’s something for everyone.
Warm metals like brass, gold, and copper can add a touch of elegance to wood cabinets. For those interested in a cooler palette, stainless steel or chrome can create a contemporary look. The finish you choose can dramatically change the vibe of your kitchen.
Easy Installation
The best part? Installing new hardware is a simple DIY project that requires just a screwdriver. Most new knobs and pulls can be installed using the existing holes in your cabinets. This means you can achieve a fresh look without the hassle of drilling new holes.
If you’re unsure about the fit, consider using a cabinet hardware jig. This tool helps ensure perfectly aligned holes, saving you time and frustration.
Shopping for Hardware
You don’t need to break the bank to find quality hardware. Amazon offers a wide range of affordable options, making it easy to shop from home. If you prefer supporting local businesses, check out places like Battle Creek Hardware. They offer unique selections that can add a custom touch to your cabinets.
Making the Right Choice
When selecting hardware, consider the overall style of your kitchen. If you’re going for a modern look, opt for sleek, minimalist designs. For a more traditional kitchen, ornate or vintage-inspired knobs might be the perfect fit.
Pro tip: Before committing, try out a few different samples to see what complements your cabinets best. This small step can prevent buyer’s remorse and ensure you’re happy with your choice.
Swapping out hardware is a quick and easy way to refresh your kitchen cabinets. It’s a small change that can have a big impact, making your kitchen feel new and inviting. Next, we’ll look at how adding moulding can lift your cabinets even further.
Add Moulding
Adding moulding to your kitchen cabinets can lift their look from basic to stunning. It’s like giving your cabinets a fancy frame that makes them stand out.
Crown Moulding
Crown moulding is the trim that sits at the top of your cabinets. It draws the eye upward, making your kitchen appear taller and more neat. This is a great way to add a touch of luxury without a full remodel.
Soffit Moulding
If you have a gap between your cabinets and the ceiling, soffit moulding can be your best friend. It closes that space, creating a seamless look. This not only gives your kitchen a custom-built feel but also prevents dust from collecting in hard-to-reach places.
Chair-Rail Moulding
For a more refined look, consider chair-rail moulding along the bottom edges of your upper cabinets. This type of moulding can hide under-cabinet lighting and add architectural interest, making your cabinets look more like fine furniture.
DIY or Hire a Pro?
Installing moulding can be a DIY project if you’re comfortable using a miter saw. This tool allows you to cut the moulding at precise angles so it fits perfectly. If you’re new to woodworking, you might want to practice on some scrap pieces first.
For those who prefer to leave it to the experts, hiring a carpenter can ensure a flawless finish. The cost is often worth it for the professional touch and peace of mind.
Adding moulding is a simple yet effective way to update your kitchen cabinets. It adds height, elegance, and a custom look that can transform your space. Next, we’ll explore how to brighten up your kitchen with under-cabinet lighting.
Install Under-Cabinet Lighting
Under-cabinet lighting is a game-changer for any kitchen. It not only adds a layer of ambient light that warms up the space but also illuminates your countertops, making food prep easier and safer. Plus, it can give your kitchen a modern, high-end feel without breaking the bank.
Puck Lights
Puck lights are small, round fixtures that are perfect for under-cabinet lighting. They’re usually battery-operated and come with an adhesive backing, making them easy to install. Just peel and stick them under your cabinets—no electrician needed! They’re great for adding focused light to specific areas, like the countertop where you do most of your chopping.
Tape Lighting
Tape lighting, also known as LED strip lighting, is another excellent option. It consists of a strip of LEDs mounted on a narrow, flexible circuit board. With adhesive backing, you can easily install it under your cabinets. Simply cut it to length, peel off the backing, and stick it in place. Once plugged in, these strips provide a continuous line of light that brightens up the whole countertop.
LED Strip Lighting
LED strip lighting is similar to tape lighting but often comes with more features. Some strips offer color-changing options or dimmable settings, allowing you to customize the ambiance of your kitchen. They also tend to be more energy-efficient, which is a bonus for your electricity bill.
Placement and Installation Tips
When installing under-cabinet lighting, place the fixtures toward the front of the cabinet’s underside. This maximizes illumination on your countertops. Whether you choose puck lights or strip lighting, the installation is straightforward. Measure the length of your cabinets, cut the lighting to size if needed, and stick it in place. If you’re using plug-in options, make sure there’s an outlet nearby.
Adding under-cabinet lighting is a simple DIY project that can transform your kitchen. It improves both the functionality and aesthetics of your space, making it feel more inviting and luxurious. Up next, we’ll explore the benefits of removing some cabinet doors for a fresh, open look.
Remove Some Doors
Removing cabinet doors is a fantastic way to modernize your kitchen and create a sense of openness. This approach transforms closed cabinets into open shelving, allowing you to display your favorite dishes, glassware, or even some decorative pieces. It’s an easy DIY project that can change the entire feel of your kitchen without a complete overhaul.
Open Shelving
Open shelving can make a kitchen feel larger and more welcoming. By removing the doors on your upper cabinets, you can showcase your beautiful dishes and glassware. This not only adds a personal touch but also makes everyday items easily accessible. Plus, it encourages you to keep things organized, as everything is on display.
Display Dishes
Displaying dishes can be both functional and decorative. Consider arranging items by color or material to create a cohesive look. You can also mix in a few decorative pieces like small plants or cookbooks to add character. This setup turns your kitchenware into part of your decor, enhancing the aesthetic appeal of your kitchen.
DIY
The process of removing cabinet doors is straightforward. All you need is a screwdriver to take off the hinges. Once the doors are removed, be sure to patch any holes left by the screws. This step is crucial for achieving a clean, polished look. You can then paint over the patched areas to match the rest of the cabinet.
Paint Interior
Painting the interior of your cabinets is an excellent way to add a pop of color or create a contrast with your existing kitchen decor. Choose a color that complements your kitchen’s palette or go bold with a striking hue. This adds depth and interest, making your open shelving stand out even more. It’s a small detail that can have a big impact.
Removing some cabinet doors is a cost-effective way to update your kitchen. It allows you to showcase your style and create a more open, airy space. Next, we’ll dive into the option of swapping wood doors for glass-front doors to further improve your kitchen’s look.
Swap Wood Doors for Glass-Front Doors
Swapping wood doors for glass-front doors is a stylish way to update your kitchen cabinets. This change can add a touch of elegance and make your kitchen feel more open and airy. Plus, it allows you to display your best dishes and glassware, turning them into a part of your kitchen decor.
Glass-Front Doors
Glass-front doors offer a sleek and modern look that can transform your kitchen. They give the illusion of more space and light by reflecting natural light throughout the room. When choosing glass-front doors, consider options like clear, frosted, or textured glass to match your style and privacy needs.
Paint
To create a cohesive look, paint the frames of your glass-front doors to match your existing cabinets or use a contrasting color for a bold statement. Painting is a simple yet effective way to refresh the overall appearance of your kitchen. Opt for high-quality paint that can withstand the wear and tear of a busy kitchen environment.
Display Best Dishes
With glass-front doors, your dishes become a focal point. Arrange your best dishes and glassware attractively to improve the visual appeal of your kitchen. Consider grouping items by color or theme for a more organized and aesthetically pleasing display. This not only adds personality to your kitchen but also keeps your favorite items within easy reach.
Swapping wood doors for glass-front doors is a sophisticated update that can lift the look of your kitchen. It merges functionality with design, allowing you to showcase your style while keeping your kitchen organized. In the next section, we’ll explore how adding floating shelves can further improve your kitchen’s contemporary feel.
Add Floating Shelves
Adding floating shelves to your kitchen is a fantastic way to achieve a contemporary look while maximizing storage. These shelves offer a sleek, minimalist design that can transform your kitchen space.
Contemporary Look
Floating shelves are perfect for a modern kitchen update. They provide clean lines and an open feel, making your kitchen appear larger and more inviting. The absence of bulky cabinets allows for more light and space, giving your kitchen a fresh, airy vibe.
Plants and Greenery
Incorporate plants to add a touch of nature and color. Small potted herbs or succulents can thrive on these shelves, bringing life into your kitchen. Not only do plants improve aesthetics, but they also improve air quality, making your kitchen a healthier and more pleasant environment.
Cookbooks and Culinary Inspiration
Floating shelves are an ideal spot to display your favorite cookbooks. Arrange them by size or color for a visually appealing look. Having your cookbooks easily accessible can inspire you to try new recipes and add a personal touch to your kitchen decor.
Accessories and Personal Touches
Use floating shelves to showcase accessories and personal items that reflect your style. This could include decorative bowls, vintage jars, or family heirlooms. Mixing different textures and materials can add depth and interest, making your kitchen truly unique.
Floating shelves offer both style and functionality, allowing you to personalize your kitchen while keeping it organized. They are a versatile addition that can complement any kitchen design, enhancing the space with a modern and practical touch. Next, we’ll look at how to brighten up your kitchen with wallpaper for an unexpected pop of color and personality.
Brighten Up with Wallpaper
Wallpaper might not be the first thing you think of when updating kitchen cabinets, but it can work wonders for adding color and personality to your space. Peel-and-stick wallpaper is a game-changer, making it easy to apply and remove without damaging surfaces.
Inside Drawers
Imagine opening a drawer to find a burst of color or a fun pattern. Applying peel-and-stick wallpaper inside your kitchen drawers can add a delightful surprise every time you reach for a utensil. It’s a simple way to make your kitchen feel custom and unique.
Back Interior Walls
For a more visible impact, consider adding wallpaper to the back interior walls of your cabinets, especially if you’ve removed the doors or have glass-front cabinets. This creates a striking backdrop for your dishes and glassware, making them stand out beautifully.
Peel-and-stick wallpaper is versatile and easy to use, allowing you to experiment with different designs and change them as your style evolves. It’s an affordable way to inject personality into your kitchen without a major renovation. Next, we’ll discuss how to install drawer dividers and slide-out shelves for a more organized and efficient kitchen.
Install Drawer Dividers and Slide-Out Shelves
When it comes to updating kitchen cabinets, organization is key. Installing drawer dividers and slide-out shelves can transform cluttered spaces into functional, user-friendly areas. Let’s explore how these simple additions can provide a bespoke look without breaking the bank.
Organizers
Drawer organizers are a straightforward way to bring order to your kitchen. They help categorize utensils, making it easy to find what you need when you need it. You can purchase ready-made organizers, or for a more custom fit, opt for adjustable versions. These can be custom to suit your specific drawer dimensions and storage needs.
Quick Tip: Measure your drawers before buying organizers to ensure a perfect fit. This small step can save you a lot of hassle later.
Roll-Out Shelves
Roll-out shelves are a fantastic solution for deep cabinets where items at the back often get lost. These shelves function like shallow drawers, sliding out for easy access. Imagine reaching for a pot or pan without having to rummage through a dark cabinet.
Building roll-out shelves can be a simple DIY project. Most designs use a basic 1×4 pine frame with a 3/4-inch plywood bottom. Even if you’re new to woodworking, this is a manageable task that can be completed with standard tools.
Pro Tip: When installing roll-out shelves, place them at a height that allows for easy access to frequently used items. This will improve the functionality of your kitchen storage.
Bespoke Look
Both drawer dividers and roll-out shelves contribute to a bespoke look in your kitchen. They offer a custom feel that rivals high-end cabinetry without the high-end price tag. Additionally, these upgrades can significantly increase the resale value of your home by making your kitchen more appealing to potential buyers.
Incorporating these organizational features is a practical step in updating kitchen cabinets. They not only improve the aesthetic appeal but also improve the overall functionality of your kitchen. Up next, we’ll explore the art of swapping wood doors for glass-front doors to display your best dishes.
Frequently Asked Questions about Updating Kitchen Cabinets
How can I update my kitchen cabinets without replacing them?
Updating kitchen cabinets doesn’t always mean tearing them out and starting from scratch. Here are some budget-friendly ideas:
- Paint: A fresh coat of paint can work wonders. Try bold hues or trending colors to refresh the look. Techniques like distressing or whitewashing add character, while two-tone finishes create visual interest.
- Change Handles: Swapping out cabinet knobs and drawer pulls is a quick and easy update. Look for new hardware on sites like Amazon or Battle Creek Hardware for a fresh look.
- Add Molding: Crown, soffit, or chair-rail molding can transform basic cabinets into custom-looking pieces. You can DIY with a miter saw or hire a carpenter.
- Install Lighting: Under-cabinet lighting like puck lights or LED strips can brighten the space and add a modern touch.
How do you modernize existing cabinets?
To modernize your kitchen cabinets, consider these strategies:
- Repaint: Opt for sleek, modern colors and finishes. High-gloss paint can give a contemporary feel, while matte finishes offer a more subtle look.
- Reface: Refacing involves applying new veneer to cabinet boxes and replacing doors and drawer fronts. This gives a fresh look without the full cost of new cabinets.
- Swap Hardware: Modern handles and knobs can instantly update your kitchen’s style.
- Remove Doors: Open shelving is trendy and functional. It allows you to display dishes and adds an airy feel to the kitchen.
- Add Floating Shelves: These shelves offer a contemporary way to store and display items like plants and cookbooks.
- Wallpaper: Use peel-and-stick wallpaper inside drawers or on the back walls of cabinets for a pop of color or pattern.
What is the cheapest way to update kitchen cabinets?
If you’re on a tight budget, here are the most cost-effective ways to update your cabinets:
- Refacing: This is cheaper than a full replacement and gives the cabinets a new facade.
- Strip and Stain: If your cabinets are wood, stripping the old stain and applying a new one can refresh their appearance.
- Varnish: Adding a clear varnish can protect and improve the existing finish.
- Paint: Always a budget-friendly choice, painting can completely change the look of your kitchen.
- Stick-On Veneer: This is an affordable option for covering cabinet surfaces with a new finish.
These methods allow you to enjoy a fresh kitchen look without the expense of new cabinetry. Next, we’ll explore the benefits of swapping wood doors for glass-front doors to highlight your favorite dishes.
Conclusion
Updating kitchen cabinets can completely transform your kitchen without the need for a costly overhaul. From painting and refacing to swapping hardware and adding decorative molding, there are many ways to breathe new life into your space. These updates not only improve the aesthetic appeal but also improve the functionality and efficiency of your kitchen.
At New England Home Pros, we specialize in making your kitchen dreams a reality. Our expert team offers a range of home remodeling services custom to meet the unique needs of homeowners in Londonderry, NH. Whether you’re looking to update your cabinets or undertake a complete kitchen remodel, our commitment to quality and customer satisfaction sets us apart.
We understand that a kitchen is more than just a place to cook—it’s the heart of your home. That’s why we focus on creating beautiful, functional spaces that reflect your personal style. Our attention to detail ensures that every project we undertake is completed to the highest standard, leaving you with a kitchen you’ll love for years to come.
If you’re ready to start your kitchen change, contact us today to explore our expert services. Let’s work together to create the kitchen of your dreams.