Building a deck transforms your outdoor living space into a haven for relaxation and entertainment. Whether you envision family barbecues or a quiet retreat for unwinding, a deck seamlessly connects your indoor comforts with nature’s beauty. In Londonderry, NH, and its surrounding areas, homeowners are increasingly investing in decks to boost aesthetic appeal and property value.
Here’s a quick answer if you’re considering this home improvement:
- Budget Considerations: Plan your deck based on size, complexity, and materials.
- Material Choices: Options include cedar, redwood, composite, and pressure-treated lumber.
- Key Steps: Start with attaching the ledger, protect it, set footings, and install joists and decking boards.
I’m Jesse Andrews, owner of New England Home Pros. With over three decades of experience in building a deck, my team and I specialize in crafting personalized outdoor spaces that cater to your lifestyle needs. Let’s dig deeper into crafting a perfect deck for your home.
Planning Your Deck
Planning is the backbone of any successful deck project. Whether you’re dreaming of a simple platform or an intricate multi-level design, starting with a solid plan is crucial. Here’s how you can get started:
Budget
First things first—set a budget. The cost of building a deck can vary widely based on factors like size, materials, and complexity. For instance, an 8×10 deck with pressure-treated wood might cost around $520, while the same size in composite materials could go up to $1,120. That labor costs are separate if you opt for professional help.
Complexity
The complexity of your deck design plays a big role in planning. Simple, single-level decks are easier and cheaper to build. In contrast, decks with multiple levels, stairs, or custom features require more time, skill, and money. If you’re a DIY enthusiast, be honest about your skill level before tackling a complex design.
Size and Location
The size and location of your deck should align with your lifestyle and yard layout. Do you have a small yard in Chester, NH, or a sprawling one in Bedford, NH? A larger deck provides more space for entertaining but costs more. Consider factors like sun exposure, views, and access from your home when choosing the location.
Building Codes and Permits
Before you start, check local building codes and obtain necessary permits. Codes ensure your deck is safe and compliant with local regulations. In areas like Salem, NH, permits might be required for specific sizes or heights. It’s crucial to include these in your planning phase to avoid legal issues later on.
Materials
Choosing the right materials is vital for durability and aesthetic appeal. Here are some popular options:
- Cedar or Redwood: Naturally pest- and rot-resistant but more expensive.
- Composite or PVC: Low-maintenance and durable, ideal for those who prefer less upkeep.
- Pressure-treated Lumber: Cost-effective and sturdy but requires regular maintenance.
Each material has its pros and cons, so weigh them based on your budget, maintenance preferences, and local climate.
By considering these factors early on, you can ensure your deck project goes smoothly and meets your expectations. Next, we’ll dive into the step-by-step guide to start building your dream deck.
Choosing Decking Materials
Selecting the right materials is crucial when building a deck. The choice impacts not only the look and feel but also the maintenance and durability of your outdoor space. Let’s explore some popular options:
Cedar and Redwood
Cedar and redwood are classic choices for decking. These woods are naturally resistant to pests and rot, making them ideal for outdoor use. They provide a warm, natural look that many homeowners love. However, they come with a higher price tag compared to other options.
- Pros: Naturally resistant to decay and insects. Beautiful grain and color.
- Cons: Higher cost. Requires regular maintenance to preserve color and prevent weathering.
Composite and PVC
If you’re looking for low-maintenance options, composite and PVC decking are worth considering. Made from a mix of wood fibers and plastic, composite decking offers the appearance of wood without the upkeep. PVC, being entirely plastic, is even more durable and resistant to the elements.
- Pros: Minimal maintenance. Resistant to fading, staining, and mold.
- Cons: Higher initial cost. Some find the look less natural than real wood.
Pressure-Treated Lumber
Pressure-treated lumber is a cost-effective and widely available option. It’s treated with chemicals to resist rot and insect damage, making it durable for outdoor use. This type of wood is a staple for many DIY projects due to its affordability.
- Pros: Affordable and widely available. Resistant to insects and rot.
- Cons: Requires regular sealing and staining to prevent warping and cracking.
Comparing Your Options
Here’s a quick comparison to help you decide:
| Material | Cost (per sq. ft.) | Maintenance | Durability |
|---|---|---|---|
| Cedar | $4 – $8 | Moderate | High |
| Redwood | $7 – $12 | Moderate | High |
| Composite | $5 – $13 | Low | Very High |
| PVC | $5 – $13 | Low | Very High |
| Pressure-Treated Wood | $3 – $6 | High | Moderate to High |
Each material has its own set of benefits and drawbacks. Your choice should align with your budget, desired look, and how much time you’re willing to spend on maintenance. Whether you’re in the lush landscapes of Windham, NH, or the busy streets of Manchester, NH, selecting the right material will ensure your deck stands the test of time and adds value to your home.
Next, we’ll guide you through the step-by-step process of building your deck, starting with how to attach the ledger board.
Building a Deck: Step-by-Step Guide
Building a deck can seem daunting, but breaking it down into steps makes the process manageable. Let’s explore each step, starting with attaching the ledger.
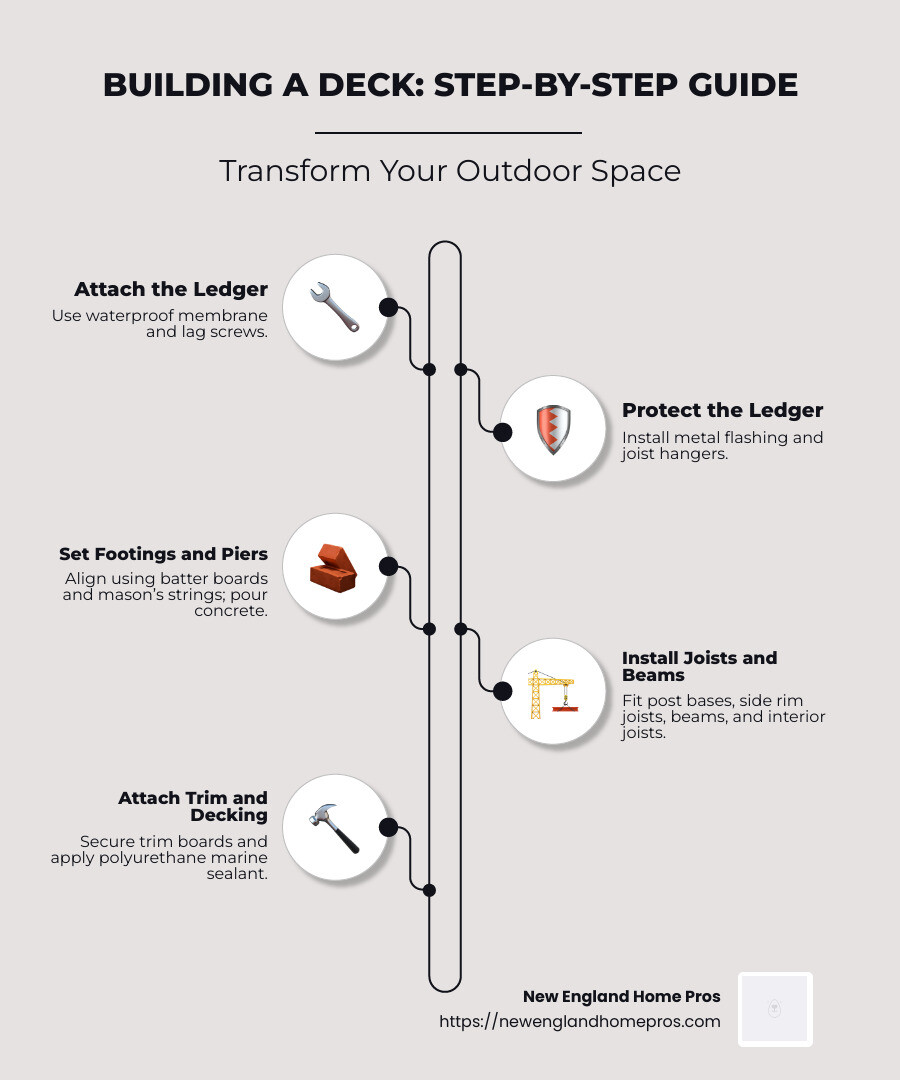
Step 1: Attach the Ledger
The ledger board is the backbone of your deck. It connects the deck to your house, providing stability.
- Preparation: Start by removing any siding or trim where the ledger will be attached. This should be about a foot above the top of the ledger. Apply a self-adhering waterproof membrane to protect the sheathing from moisture.
- Positioning: Mark the position of the ledger with a chalk line, ensuring it’s level. The top of the ledger should be between 4 to 7 3/4 inches below the door sill.
- Installation: Use lag screws to secure the ledger to the house’s rim joist. Drill pilot holes first to avoid splitting the wood. Tighten each lag screw with a washer for added security.
Step 2: Protect the Ledger
Protecting the ledger is crucial for longevity.
- Metal Flashing: Cut a strip of metal flashing to cover the ledger. Fold it lengthwise to form a right angle and place it over the waterproof membrane. Secure it with roofing nails every 8 inches.
- Joist Hangers: Attach concealed-flange double joist hangers at both ends of the ledger. These will support the side rim joists later on.
Step 3: Set Footings and Piers
The footings and piers are the foundation of your deck.
- Layout: Use batter boards and mason’s strings to outline the deck’s perimeter and mark where the footings will go.
- Digging and Pouring: Dig holes for the footings, ensuring they extend below the frost line. Place footing forms in each hole, then fill with concrete. Let the concrete cure for a week.
Step 4: Install Post Bases and Side Rim Joists
Once the footings are ready, it’s time to add the post bases and side rim joists.
- Post Bases: Set a post base on each footing. Drill into the concrete and secure the base with an anchor bolt.
- Side Rim Joists: Cut pressure-treated lumber for the side rim joists. Fit each joist into the joist hangers on the ledger, and rest the other end on the post base. Nail them securely.
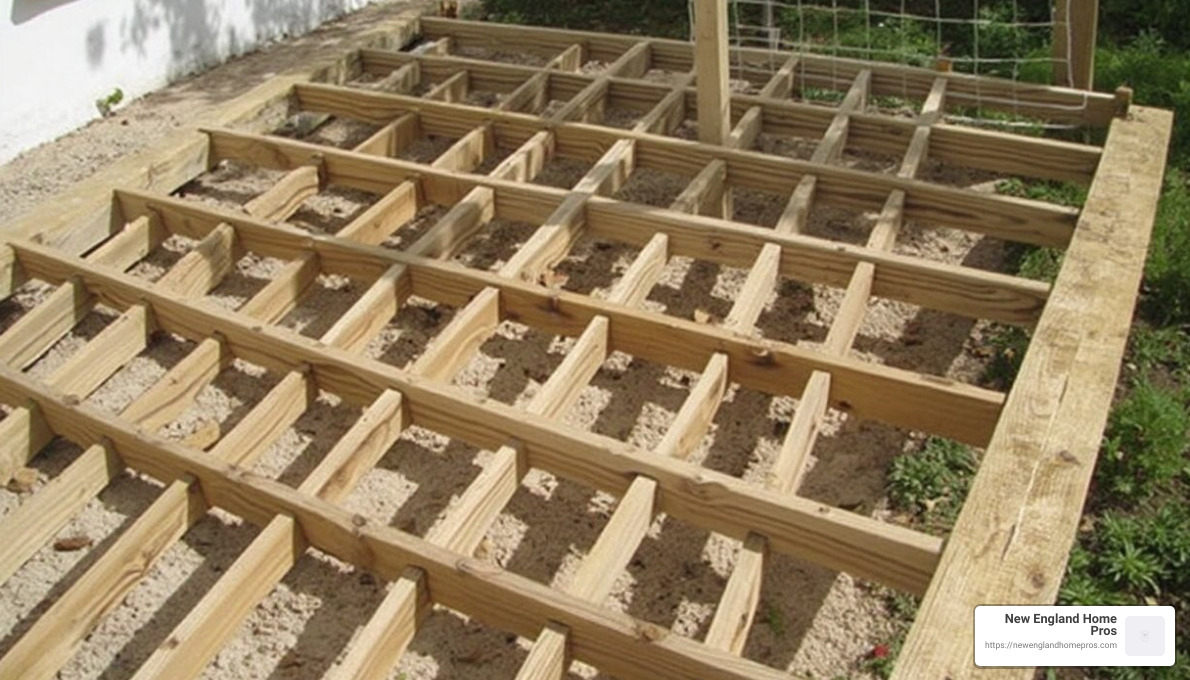
Step 5: Install Front Rim Joist, Beams, and Interior Joists
With the side rim joists in place, you can add the front rim joist, beams, and interior joists.
- Front Rim Joist: Attach the front rim joist using face-mounted joist hangers. Ensure it’s level and secure it to the post bases with nails.
- Beams and Joists: Install beams every 8 feet along the rim joist and ledger. Use joist hangers to attach interior joists, placing them 16 inches apart. If a joist has a crown (a slight arc), install it crown-side up for added strength.
Step 6: Attach Trim and Decking
Finish your deck by adding trim and decking boards.
- Trim Boards: Use paint-grade trim boards to cover the outer edges of the rim joists. Secure them with galvanized or stainless finish nails.
- Decking Boards: Measure and cut the decking boards, allowing for a 1-inch overhang. Use a bead of polyurethane marine sealant on the joists to hold the boards in place. Nail each board securely, using additional nails if necessary to keep them straight.
With these steps, you’re well on your way to creating a beautiful and sturdy deck. Next, we’ll explore how to add stairs and railings to complete your outdoor space.
Stairs and Railings for a Deck
Adding stairs and railings is the final touch to your deck, ensuring both safety and accessibility. Let’s dive into the process of designing and building these crucial elements.
Stairs
Building stairs for your deck requires careful planning and precise measurements to ensure safety and comfort.
- Rise and Run: The rise is the height of each step, and the run is the depth. Consistency is key here. Each step should have the same rise and run to prevent tripping hazards. Typically, a comfortable rise is around 7 inches, with a run of about 10 inches.
- Stringers: These are the diagonal supports for your stairs. You’ll need to cut notches into the stringers to hold the treads (the horizontal part of the step) and risers (the vertical part). Use pressure-treated lumber for durability.
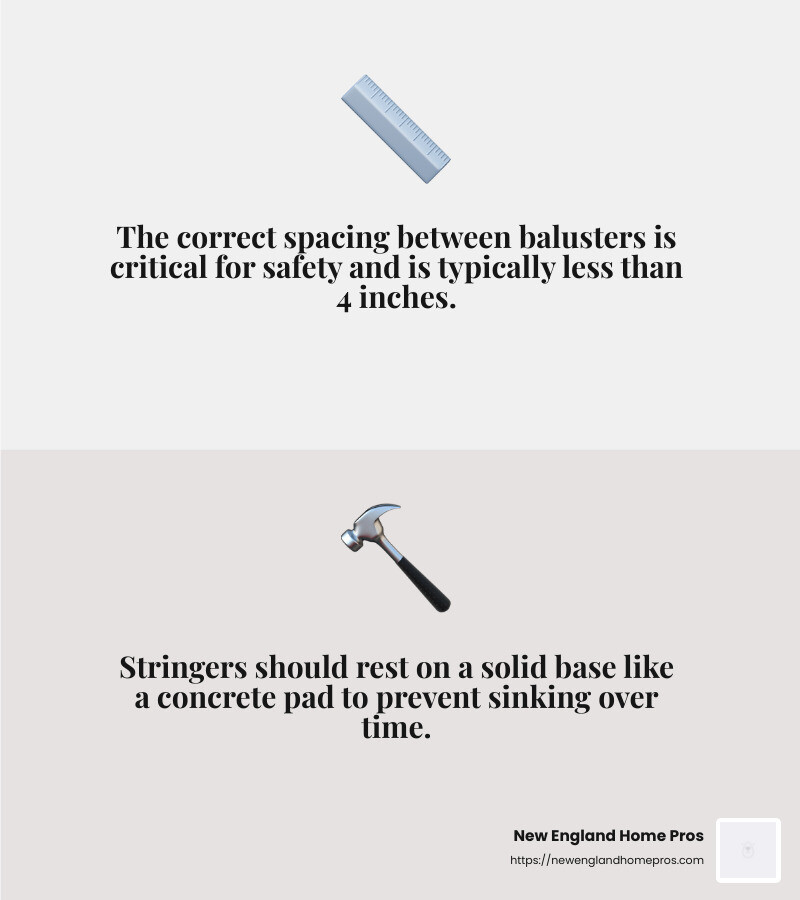
- Attach Stringers: Secure the stringers to the deck frame, ensuring they are level and evenly spaced. The bottom of the stringers should rest on a solid base, such as a concrete pad, to prevent sinking over time.
- Install Treads and Risers: Attach the treads and risers to the stringers. Make sure they are securely fastened and meet local building codes for safety.
Railings
Railings provide safety and can improve the aesthetic appeal of your deck. Here’s how to install them:
- Posts: Install railing posts at corners and along the edges of the deck. These should be securely fastened to the joists for stability.
- Top and Bottom Rails: Attach the top and bottom rails between the posts. These rails support the balusters and add structure to the railing.
- Balusters: Install the balusters between the rails. Ensure they are spaced according to local building codes, typically less than 4 inches apart, to prevent small children from slipping through.
With your stairs and railings in place, your deck is not only safer but also more functional and visually appealing. Next, we’ll explore the finishing touches that can truly make your deck a standout feature of your home.
Finishing Touches for Your Deck
Making your deck truly shine involves a few finishing touches that improve both its look and functionality. Let’s explore some key elements you can add.
Lighting
Adding lighting to your deck can transform it into a magical space at night. Consider using a mix of ambient, task, and accent lighting to create a warm and inviting atmosphere. LED string lights or solar-powered post caps are energy-efficient options that provide ample illumination. Well-placed lighting not only improves the mood but also increases safety by illuminating stairs and walkways.
Post Caps
Post caps are a small but impactful addition to your deck. They protect the tops of your posts from water damage and add a polished look. Available in various materials like wood, metal, or glass, post caps can be chosen to match your deck’s overall style. Some even come with built-in solar lights for added functionality.
Water-Resistant Finish
Applying a water-resistant finish is crucial to protect your deck from moisture and UV damage. This finish helps prevent the wood from warping, cracking, or fading over time. Choose a finish that offers UV protection and is suitable for your decking material, whether it’s pressure-treated lumber or composite decking.
Seating
Incorporating seating into your deck design can make it more inviting and functional. Built-in benches or movable furniture allow for flexible arrangements and accommodate guests easily. Consider materials that can withstand the elements, like weather-resistant woods or durable outdoor fabrics.
Fascia Boards
Fascia boards cover the edges of your deck, giving it a clean and finished appearance. They hide the ends of joists and beams, providing a seamless look. Use the same material as your decking for a cohesive appearance, or opt for a contrasting color to add visual interest.
These finishing touches not only improve your deck’s beauty but also improve its durability and usability. With these elements in place, your deck becomes a perfect outdoor space for relaxation and entertainment. Next, we’ll dive into some common questions about building a deck.
Frequently Asked Questions about Building a Deck
Building a deck is a significant project, and you might have a few questions before getting started. Let’s tackle some of the most common inquiries.
Is it cheaper to build my own deck?
Building your own deck can save you money on labor costs, which can be a substantial part of the overall price. Hiring a contractor often means paying for their expertise, which can range from $15 to $35 per square foot, depending on their experience and the complexity of the design. By going the DIY route, you can eliminate this expense. However, be sure to consider your own skill level and the time commitment required. DIY savings can be significant, but only if you have the tools and know-how to do it right.
How much does it cost to build a 20×20 deck?
The cost of building a 20×20 deck varies based on the materials and features you choose. For materials alone, expect to spend between $2,600 for pressure-treated wood and up to $5,600 for composite decking. That these figures do not include labor costs. If you opt for additional features like built-in seating or lighting, the price can increase further. Always factor in your regional material costs and any additional custom design elements you might want.
What is the hardest part of building a deck?
The most challenging part of building a deck often involves the structural elements. Ensuring that the deck is safe and stable requires precise framing, setting footings below the frost line, and installing joists correctly. Adhering to building codes is crucial to avoid any legal issues and ensure safety. Each region may have specific codes, and you might need permits and inspections throughout the process. This complexity is why many opt to hire experienced contractors, despite the higher cost, to ensure everything is done correctly and safely.
With these FAQs, you should have a clearer understanding of the key considerations when building a deck. Whether you’re looking to save money by doing it yourself or planning the features of a large deck, knowing these details will help you make informed decisions. Next, we’ll wrap up with why New England Home Pros is your go-to choice for deck building excellence.
Conclusion
When it comes to building a deck, choosing the right partner is crucial. At New England Home Pros, we pride ourselves on being experts in home remodeling and custom deck building. Our commitment to quality and customer satisfaction sets us apart in the industry.
With locations across New Hampshire, including Londonderry, Manchester, and Salem, we are well-positioned to serve homeowners throughout the region. Our team of skilled craftsmen brings extensive experience and attention to detail to every project, ensuring your deck is not only beautiful but also built to last.
We understand that each homeowner has unique needs and visions for their outdoor space. That’s why we offer personalized service, working closely with you from the initial design to the final walk-through. Our goal is to bring your dream deck to life, enhancing your home’s value and your quality of life.
If you’re considering a new deck, let us help you transform your outdoor space. Our expertise in deck building and dedication to customer satisfaction make us the ideal choice for your project.
Learn more about our custom deck building services and see how we can help create the perfect outdoor retreat for you and your family.
Thank you for considering New England Home Pros. We look forward to working with you to turn your vision into reality.
