How to finish a basement has become a hot topic among homeowners looking to open up hidden potential in their homes. A basement is not just a storage area; it holds the promise of significant extra space and increased home value. Completing this change can be done either as a DIY project, which allows for personal touch and budget control, or with the help of professionals who ensure high-quality and timely results.
Here’s a quick rundown of how to finish a basement:
- Start with a plan: Evaluate your basement’s current condition and your space needs.
- Prepare the space: Clear out clutter, fix any moisture issues, and ensure compliance with local codes.
- Insulate properly: Add insulation to keep the basement comfortable.
- Frame and drywall: Construct walls and ceilings to create defined areas.
- Finish with style: Choose flooring, paint, and decor to complete the change.
I’m Jesse Andrews, and I’ve spent over 30 years helping homeowners achieve their home renovation dreams, including mastering the intricacies of how to finish a basement. My experience guides our Londonderry, NH-based team as we provide top-notch renovation services.

Handy how to finish a basement terms:
– basement finishing ideas
– cost to finish basement per sq ft
– basement wall ideas
Preparing Your Basement
Before diving into the exciting change of your basement, it’s crucial to prepare the space properly. This preparation involves a few essential steps: cleaning out the area, conducting a moisture test, and researching local building permits and codes. Let’s break these down.
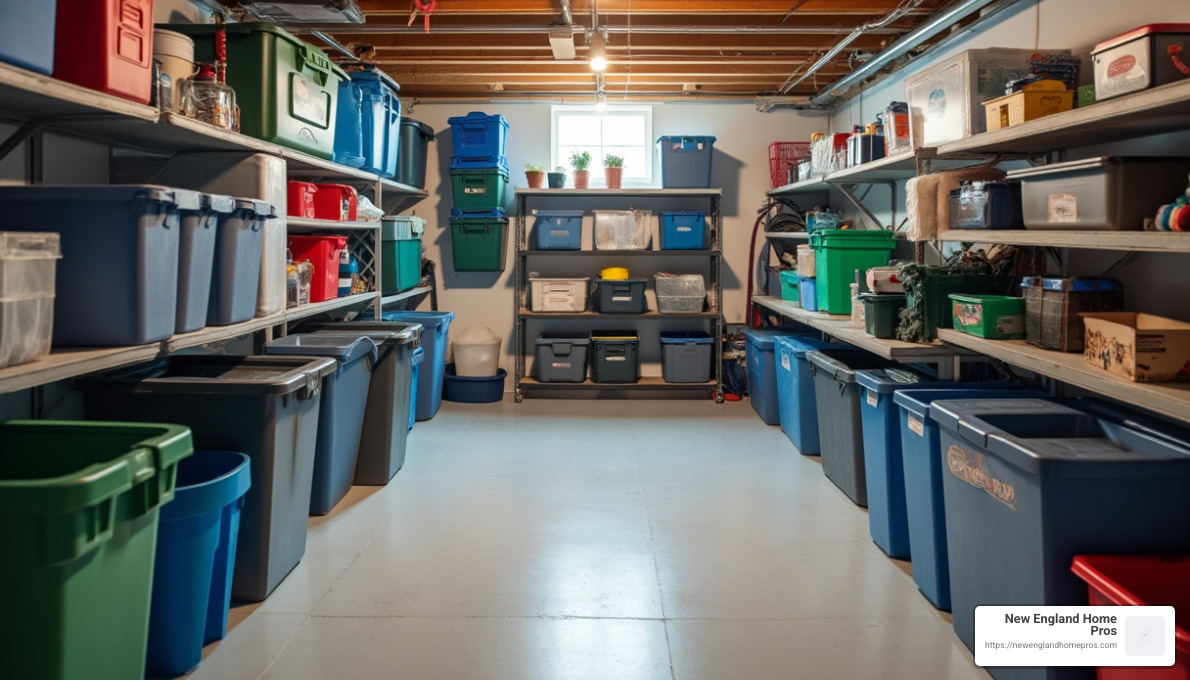
Clean Out Your Basement
Begin by removing all the clutter and junk from your basement. This step is essential because it allows you to see the space clearly and plan your renovation effectively.
- Junk Removal: Consider renting a dumpster to make the process easier. This way, you can dispose of unwanted items efficiently.
- Organization: Once cleared, think about how you want to organize any items you plan to keep. Use shelves or storage bins to keep things tidy and accessible.
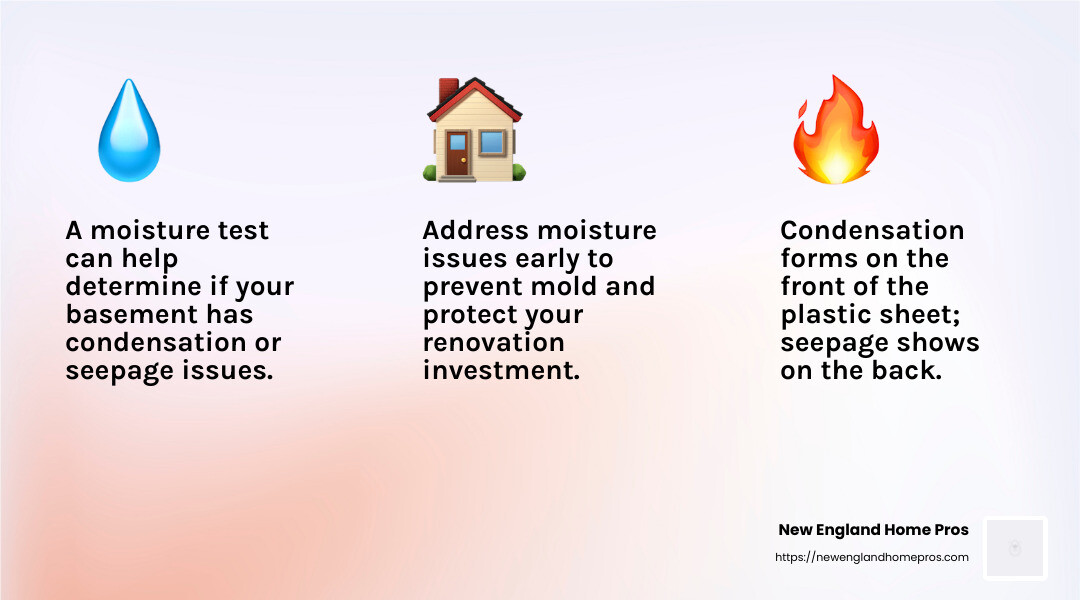
Complete a Moisture Test
Testing for moisture is a critical step before starting any renovation work. Moisture can ruin your efforts and lead to mold, which is why addressing it early is vital.
- Identify Moisture Sources: Tape a 2-ft. square sheet of plastic to the wall. If moisture collects on the front, it’s condensation. If it collects on the back, it’s seeping through the wall.
- Waterproofing Methods: Redirect downspouts, regrade the lawn, and apply waterproof coatings to your walls. In more severe cases, consider installing a sump pump or consulting a professional for more robust solutions.
Research Local Building Permits and Codes
Before you start construction, ensure your plans comply with local building codes and obtain the necessary permits.
- Permit Application: Visit your local government’s website or building department to understand the permits required for basement finishing.
- Building Codes: Check for regulations regarding ceiling height, exits, and other safety requirements. For example, some areas may require egress windows for fire safety.
- Professional Consultation: If you’re unsure about the codes, consulting a professional can save time and prevent costly mistakes.
Taking these steps ensures that your basement finishing project starts on the right foot, setting the stage for a smooth renovation process. Once your basement is prepared, you can move on to the exciting part of changing it into a functional and beautiful living space.
How to Finish a Basement
Turning your basement into a livable space involves several key steps: insulating the walls, framing, installing utilities, mounting drywall, and painting the walls. Let’s dive into each of these steps to understand how to finish a basement effectively.
Insulate the Walls
Start by insulating your basement walls to keep the space warm and energy-efficient. Polystyrene foam is a great choice for this.
- Cut the Foam: Use a utility knife or a circular saw to cut the foam to fit the height of your walls, minus a quarter inch for easy installation. Always wear safety gear like goggles and a dust mask during this process.
- Apply Adhesive: Use foamboard adhesive in an S shape on the wall, then press the insulation firmly into place.
- Seal the Seams: Use duct tape to seal the seams between foam sheets, and apply caulk or foam filler to close any gaps at the edges.
Frame the Walls
Once insulation is complete, it’s time to frame your walls. This gives you a sturdy structure to attach drywall.
- Gather Materials: You’ll need 2×4 lumber for the top and bottom plates and vertical studs. A nail gun will make this job easier and faster.
- Construct the Frame: Secure the top plate to the ceiling joists and the bottom plate to the floor. Position the studs vertically, spaced about 16 inches apart, and attach them using the nail gun.
Install Utilities
Before closing up the walls, install any necessary utilities. This is a crucial step where professional help might be necessary.
- Electric and Plumbing: Run electrical wires and install plumbing pipes through the framed walls. Make sure to follow local codes and consider hiring a professional for complex installations.
- Air Ducts: If you’re adding HVAC, install air ducts to ensure proper ventilation and temperature control.
Mount Drywall
With utilities in place, it’s time to cover the walls with drywall.
- Hang Drywall Sheets: Cut the sheets to size and secure them to the studs using drywall screws. A drywall jack can help lift and hold the sheets in place.
- Finish the Seams: Apply drywall mud and tape over the seams and screw holes. Smooth it out for an even surface.
Paint the Walls
Finally, give your walls a polished look with paint.
- Primer First: Start with a coat of primer to ensure the paint adheres well and the finish is smooth.
- Choose Your Color: Select a color that complements the rest of your home. Apply at least two coats of paint for a durable finish.
By following these steps, you’ll transform your basement into a cozy and inviting space. Now, let’s move on to finishing the ceiling, where you have several options to choose from based on your style and budget.
How to Finish a Basement Ceiling
Finishing your basement ceiling is an important step that can dramatically change the look and feel of the space. You have three main options: drop-ceiling, drywalled ceiling, or an open ceiling. Each has its own style and level of difficulty.
Drop-Ceiling Installation
A drop-ceiling is a popular choice because it’s easy to install and allows for easy access to utilities.
- Installation Kit: Start by purchasing a drop-ceiling installation kit. These kits typically include everything you need.
- L-Channel Frames: Attach L-channel frames along the perimeter of the walls. These will support the T-channel frames.
- T-Channel Frames: Install T-channel frames along the joists, connecting them to the L-channel frames. Use T-channel cross frames for additional support.
- Place the Tiles: Snap in the ceiling tiles into the frame. This creates a clean and finished look, while allowing you to replace tiles easily if needed.
Drywalled Ceiling
For a more polished look, consider a drywalled ceiling. This option is more labor-intensive but provides a seamless finish.
- Drywall Sheets: Measure and cut drywall sheets to fit your ceiling.
- Adhesive and Screws: Use adhesive and screws to secure the drywall to the ceiling joists. A drywall jack can be helpful to hold the sheets in place.
- Finish and Paint: Once the drywall is up, apply joint compound to seams and screw holes. Sand the surface smooth, then apply primer and paint for a finished look.
Open Ceiling
An open ceiling offers an industrial look and is the simplest to achieve. This style leaves pipes and ducts exposed, giving a modern vibe.
- Painting the Ceiling: Use a paint sprayer for even coverage. Black or dark colors are popular choices to help blend pipes and ducts into the background.
- Industrial Style: This approach is perfect if you like the industrial aesthetic and want to keep the ceiling height as high as possible.
Choosing the right ceiling style depends on your personal taste and the function of your basement. Whether you prefer the accessibility of a drop-ceiling, the sleekness of drywall, or the modern look of an open ceiling, each option can help complete your basement change.
Next, let’s explore how to finish your basement floor to complement your new ceiling.
How to Finish a Basement Floor
Changing your basement floor is a crucial step in turning it into a comfortable living space. With the right subflooring and flooring options, you can create a durable and inviting area. Let’s dive into the steps and choices available for how to finish a basement floor.
Install Subflooring
Before you lay down any flooring, it’s important to install a subfloor. This step ensures a level, insulated, and moisture-protected base.
-
Cement Floor Preparation: Start by ensuring your cement floor is clean and free of debris. Check for any moisture issues and address them before proceeding.
-
Polystyrene Insulation: Lay down sheets of polystyrene insulation directly onto the cement. This helps insulate the floor and acts as a moisture barrier. Use adhesive to secure the insulation in place.
-
Plywood Layer: On top of the insulation, lay plywood sheets. Secure these with a masonry drill and concrete screws to create a stable base for your flooring.
Install Flooring
With the subfloor in place, you can choose from various flooring options that suit your style and the function of your basement.
-
Vinyl Flooring: Vinyl is a popular choice due to its water resistance and ease of installation. It comes in a variety of styles, including planks that mimic the look of wood.
-
Tiles: If you’re looking for a polished look, consider tiles. They are easy to clean and ideal for areas prone to moisture. Ensure the subfloor is perfectly level before laying tiles.
-
Carpet Tiles: For a cozy feel, carpet tiles are a great option. They are easy to install and replace if damaged. Plus, they offer some insulation against cold basement floors.
-
Waterproof Options: Always consider waterproof flooring in basements to prevent damage from potential leaks. Both vinyl and tile offer excellent water resistance.
Each flooring type has its own benefits and installation methods. Choose the one that best fits your needs and complements the rest of your basement design. With your new floor in place, your basement is one step closer to becoming a beautiful and functional space.
Next, we’ll tackle some frequently asked questions about finishing a basement.
Frequently Asked Questions about Finishing a Basement
How Much Does it Cost to Finish a Basement?
Finishing a basement can be a significant investment, but it often adds valuable living space to your home. On average, you can expect to spend $25-$50 per square foot. This means for a typical 750 square foot basement, costs can range from $18,750 to $37,500. However, if you opt for high-end finishes or custom features, the total can go up to $30,000 to $45,000.
Budget Considerations:
– DIY vs. Professional: Doing some work yourself can save money, but it’s crucial to know when to hire professionals, especially for electrical and plumbing.
– Materials: Choosing budget-friendly materials can help keep costs down. For instance, vinyl flooring is often cheaper than hardwood.
– Permits and Inspections: Don’t forget to budget for necessary permits, which vary by location.
Does a Finished Basement Add Value to Your Home?
Yes, a finished basement can significantly increase your home’s value. Although it typically isn’t included in the official square footage of your home, a finished basement is a desirable feature for potential buyers. Studies have shown that finishing a basement can offer a 70% return on investment. This means that for every dollar spent, you could get back $0.70 when you sell your home.
Resale Benefits:
– Extra Living Space: Adds functional areas like a home office, gym, or guest room.
– Appeal to Buyers: Makes your home more attractive in the real estate market.
– Competitive Edge: Sets your home apart from others on the market.
What is the Hardest Part of Finishing a Basement?
Finishing a basement comes with its own set of challenges. The most common difficulties include:
-
Obstructions: Navigating around heating ducts, plumbing, and electrical wires can be tricky. Designing around these elements requires careful planning.
-
Moisture Control: Basements are prone to dampness. Ensuring proper waterproofing is essential to prevent long-term damage. This includes addressing any leaks before starting your project.
-
Ceiling Height: Many basements have low ceilings, which can limit design options and affect the overall feel of the space. It’s important to check local building codes for minimum ceiling height requirements.
Tackling these challenges requires a mix of creativity and practical solutions. If you feel overwhelmed, consulting with a professional can help ensure a smooth and successful basement renovation.
Conclusion
Changing your basement into a functional and stylish space is a rewarding endeavor. At New England Home Pros, we’re here to help you every step of the way. Our expert services in basement finishing are designed to meet your unique needs, whether you’re looking to create a cozy family room, an efficient home office, or a versatile entertainment space.
Customer Satisfaction is Our Priority
We pride ourselves on delivering high-quality craftsmanship and exceptional customer service. Our team of professionals is dedicated to ensuring that your basement renovation not only meets but exceeds your expectations. We understand the importance of getting every detail right, from insulation and framing to the final touches like flooring and lighting.
Located near Londonderry, NH, we serve homeowners across various locations, including Auburn, Bedford, Chester, Derry, Hudson, Litchfield, Manchester, Pelham, Salem, and Windham. Our local presence allows us to be responsive and attentive to the specific needs of our community.
Why Choose Us?
- Expertise: With years of experience in the home improvement industry, we bring a wealth of knowledge and skill to every project.
- Quality Materials: We use only the best materials to ensure your finished basement is both beautiful and durable.
- Custom Solutions: Our design consultations help us create a space that reflects your style and fits your lifestyle.
If you’re ready to open up the potential of your basement, contact us today. Let’s work together to make your basement a space you’ll love for years to come.
