DIY finish basement projects open the door to creative possibilities and significant home value improvements. Basements, often overlooked storage spaces, possess incredible potential to transform into inviting living areas. Whether you’re dreaming of a cozy family room, a productive home office, or a vibrant recreational space, a finished basement can lift your home both functionally and financially.
For those keen on starting on this transformative journey, here’s a quick guide:
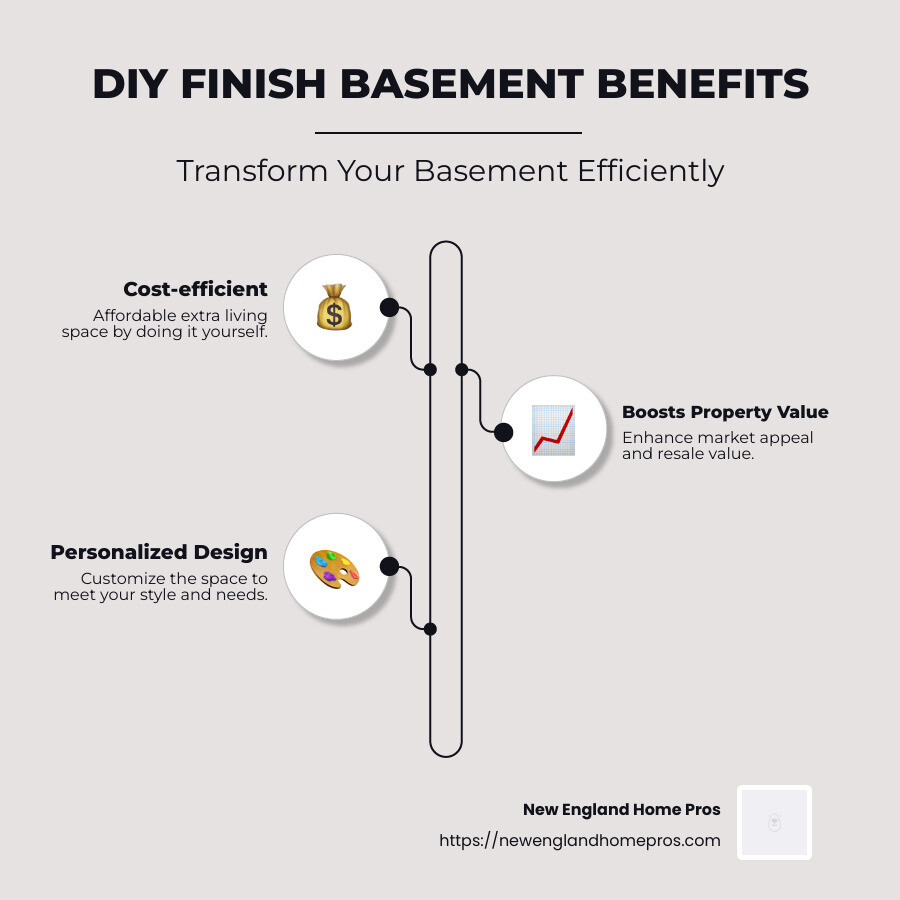
- Cost-efficient extra living space: Completing the basement yourself can be more affordable than hiring a professional, offering a rewarding hands-on experience.
- Boosts property value: A finished basement can significantly increase your home’s market appeal and resale value.
- Personalized design: Tailor the space exactly to your liking, meeting your unique needs and style preferences.
I’m Jesse Andrews, owner of New England Home Pros. With over three decades of experience in diy finish basement projects and home remodeling, my team and I specialize in turning basements from overlooked spaces into essential parts of your home. Let’s explore how you can achieve this change efficiently and stylishly in the following sections.
Key diy finish basement vocabulary:
– basement design
– basement finishing
– basement wall ideas
Preparing Your Basement for DIY Finishing
Before diving into your DIY finish basement project, set a solid foundation. This means getting your basement ready—both literally and figuratively. Here’s how to start:
Clean Out
Begin by clearing out all the clutter. Basements often become catch-all spaces for forgotten items. Remove boxes, old furniture, and any other items that might get in the way. This not only provides a clean slate for your renovation but also helps you visualize the potential of your space.
Tip: Consider renting a dumpster to easily dispose of unwanted items.
Moisture Test
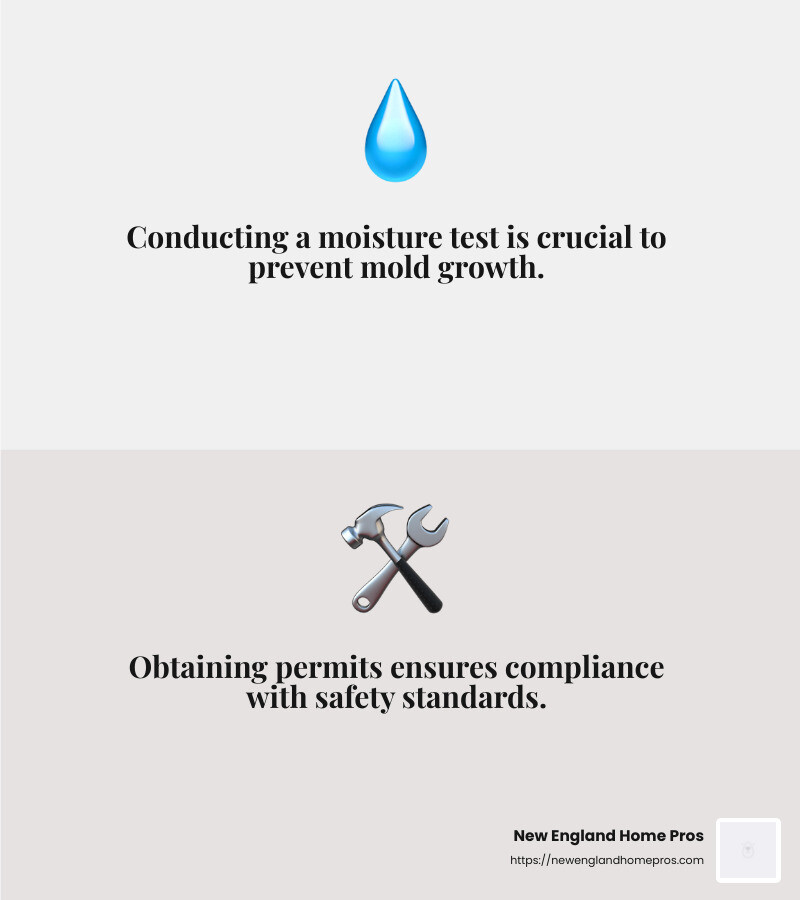
Before you start any construction, conduct a moisture test. This step is crucial because moisture can ruin your hard work and lead to mold growth. Tape a 2-foot square sheet of plastic to the masonry wall. If moisture collects under the plastic, you have a leak to address. If it collects on top, it’s condensation, which is easier to manage.
Permits
Don’t skip the permit process. Check local building codes to understand what’s required for basement renovations. Permits ensure your work complies with safety standards and can prevent future headaches when selling your home. Neglecting permits can lead to fines or even having to undo your work.
Tip: Visit your local government’s website or building department for specific requirements.
Waterproofing
Waterproofing is non-negotiable for a successful basement renovation. Even if your basement seems dry, consider applying a waterproof membrane to exterior walls to prevent future issues. Options include redirecting downspouts, regrading your lawn, or using waterproof coatings on walls.
Here’s a quick checklist for waterproofing:
- Redirect downspouts away from the foundation.
- Regrade the lawn to slope away from the basement.
- Apply waterproof coatings to interior walls.
- Install a sump pump or drain if necessary.
By tackling these initial steps, you’re setting the stage for a smooth and successful DIY finish basement project. Now, with a clean, dry, and code-compliant basement, you’re ready to move on to the exciting part—changing the space into your dream area.
DIY Finish Basement: Step-by-Step Guide
Now that your basement is prepped, it’s time to dive into the change process. This section will guide you through each step of your DIY finish basement project, from insulation to ceiling choices. Let’s get started!
Insulating Your Basement
Insulation is the first step to making your basement a cozy, energy-efficient space. Polystyrene foam insulation is a popular choice for its ease of use and effectiveness.
- Cut Foam Panels: Use a utility knife or circular saw to cut foam panels to fit your wall height, leaving a 1/4-inch gap for adjustments.
- Apply Adhesive: Apply foamboard adhesive in an S shape on the foundation walls.
- Install Panels: Press the foam panels against the adhesive. Seal seams with duct tape and use caulk to fill any gaps.
This method not only insulates but also helps keep moisture out, setting a solid foundation for the next steps.
Framing and Drywall Installation
Framing is crucial for defining your basement space, and drywall gives it a polished look. Here’s how to proceed:
- Prepare Two-by-Fours: Cut them to size for vertical wall joists, subtracting the thickness of top and bottom plates, plus 1/4 inch for easy fitting.
- Frame Walls: Use a framing nailer to secure two-by-fours in place.
- Attach Drywall: Once the frame is up, use drywall screws to attach drywall sheets, creating smooth, paint-ready walls.
This step transforms your basement from a bare concrete space into a room with potential.
Flooring Options for Basements
Flooring can make or break the comfort and style of your finished basement. Consider these options:
- Vinyl Flooring: Durable and water-resistant, vinyl is perfect for basements prone to moisture. It mimics the look of wood and is easy to install.
- Carpet Tiles: These offer warmth and are easy to replace if damaged.
- Subflooring: For added insulation, consider installing a plywood subfloor over polystyrene sheets.
Each option has its advantages, so choose based on your needs and style preferences.
Ceiling Choices for a Finished Look
Ceiling choices impact both aesthetics and functionality. Here are some options:
- Drop-Ceiling: Ideal for easy access to pipes and ducts. It’s a common choice for a practical, albeit less sleek, finish.
- Drywall Ceiling: Offers a seamless look but requires access panels for utilities.
- Open Ceiling: For a modern industrial vibe, leave pipes and beams exposed but painted.
Consider your basement’s height and utility access needs when choosing a ceiling type.
With these steps, your DIY finish basement project is well underway. From insulating the walls to choosing the right flooring and ceiling, each choice shapes the final look and feel of your space.
Budget-Friendly Tips for DIY Basement Finishing
Changing your basement into a beautiful, functional space doesn’t have to break the bank. Here are some cost-effective tips to help you achieve a stunning DIY finish basement project without overspending.
Paint
Paint is one of the easiest and most affordable ways to refresh your basement. It can brighten up the space and add a personal touch.
- Use Light Colors: Opt for light shades to make the space feel larger and more open. White, pale blues, or soft grays work well in basements.
- Accent Walls: Create a focal point with a bold accent wall. This can add depth and interest without needing a lot of paint.
- DIY Textures: Consider adding texture with a sponge or rag rolling technique for a unique finish.
Lighting
Lighting plays a crucial role in making your basement feel inviting and functional.
- Recessed Lighting: Install recessed lights in strategic spots to evenly illuminate the space. They’re sleek and save headroom.
- LED Bulbs: Use LED bulbs for energy efficiency and long-term savings.
- Floor Lamps: Add floor lamps in corners or near seating areas for additional lighting and ambiance.
Storage
Clever storage solutions can help you keep your basement organized and clutter-free.
- Built-in Shelving: Use wall space with built-in shelving units. They’re great for storing books, games, and decorative items.
- Multi-purpose Furniture: Choose furniture with built-in storage, like ottomans or benches with hidden compartments.
- Hooks and Pegboards: Use hooks or pegboards on walls to hang tools, sports equipment, or other items, keeping them off the floor.
Furniture
When selecting furniture, think about comfort, durability, and style.
- Secondhand Finds: Thrift stores and online marketplaces can be treasure troves for affordable furniture. Look for pieces that just need a little TLC.
- Modular Pieces: Opt for modular furniture that can be rearranged easily, allowing flexibility in your layout.
- Durable Materials: Choose materials that can withstand the basement environment, such as metal or treated wood.
By focusing on paint, lighting, storage, and furniture, you can create a budget-friendly basement that feels like an extension of your home. These tips ensure that your DIY finish basement project is both economical and stylish, making the most of your newfound space.
Frequently Asked Questions about DIY Basement Finishing
Is it possible to finish a basement by yourself?
Yes, it’s possible to finish a basement by yourself, but it largely depends on your DIY experience and comfort level with home improvement tasks. If you’re handy and have tackled smaller projects before, you might find it rewarding to take on a basement renovation. However, keep in mind that basements often have obstructions like plumbing, ductwork, and electrical wires that can complicate the process.
Professional help can be invaluable if you’re unsure about handling these challenges. Hiring a design-build company or consulting with experts can help you steer these complexities and achieve a polished result.
How can I finish my basement cheaply?
Finishing your basement on a budget is all about smart planning and cost-saving tips. Start by prioritizing tasks and focusing on areas that will have the biggest impact.
- DIY Where Possible: Take on tasks like painting, installing shelves, or even laying simple flooring yourself to save on labor costs.
- Shop Smart: Look for sales, discounts, or secondhand materials. For instance, you can find affordable carpet tiles or vinyl flooring that are both stylish and durable.
- Reuse and Repurpose: Use existing materials in creative ways. Old furniture can be refurbished, and leftover paint from other projects can be used for accent walls.
- Energy Efficiency: Invest in LED lighting and proper insulation to reduce long-term energy costs.
What is the first thing to do when finishing a basement?
The first step in finishing a basement is planning. A well-thought-out plan will guide your project and help prevent costly mistakes.
- Inspection: Conduct a thorough inspection to identify any structural issues, moisture problems, or necessary repairs. Addressing these early on is crucial.
- Utilities: Plan for utilities like plumbing, electrical, and HVAC. Decide if you need professional assistance for these systems, as they are critical to a functional basement.
- Layout Design: Sketch a layout that optimizes the space. Consider dividing the area into different zones, such as a family room or storage area, to make the most of the space available.
By focusing on these initial steps, you set a strong foundation for your DIY finish basement project, ensuring it’s both efficient and cost-effective. This careful preparation will help you transform your basement into a valuable living area.
Conclusion
Changing your basement into a functional and inviting space is a rewarding project. And when you partner with New England Home Pros, you can be confident in achieving exceptional results. Our expert services in basement finishing and remodeling are designed to meet your needs and exceed your expectations.
At New England Home Pros, we pride ourselves on our attention to detail and commitment to quality. Whether you’re tackling a DIY finish basement or seeking professional assistance, our team is here to support you every step of the way. We offer a comprehensive range of services, from design consultation to the final touches, ensuring your basement becomes a beautiful extension of your home.
Our focus is always on customer satisfaction. We strive to provide personalized solutions that fit your style and budget, making your vision a reality. With locations across New Hampshire, including Londonderry, Bedford, and Manchester, we are well-positioned to serve homeowners throughout the region.
If you’re ready to turn your basement dreams into reality, consider reaching out to New England Home Pros. Let us help you create a space that improves your home and adds value for years to come.